When working with a customer MCP server, you may want to integrate it with an existing authorization server rather than building your own from scratch. One option is to configure Auth0 as the authorization server.
This guide walks through the steps required to set up Auth0. Since MCP is still relatively new, there are a few Auth0-specific details you’ll need to handle for everything to work smoothly.
Prerequisites
You’ll need:
- A running MCP server instance protected by TLS (Claude.ai only connects to MCP servers over HTTPS)
- An Auth0 account
For examples in this guide, we’ll use the placeholder domain: mymcpserver.com
Step 1: Enable OIDC Dynamic Application Registration
MCP-compatible clients like Claude dynamically register themselves as OAuth applications. Without this feature, every client would have to be pre-registered in Auth0, which isn’t practical.
1. Log into your Auth0 dashboard.
2. Go to Settings → Advanced.
3. Enable OIDC Dynamic Application Registration.

Step 2: Set a Default Audience
By default, Claude (like other MCP clients) includes `resource` as a parameter in the OAuth authorization request but does not include `audience.’ When Auth0 doesn’t receive an audience, it issues opaque (encrypted) tokens. These are difficult to validate in an MCP server, since decryption typically requires keypairs and support that may not exist.
Setting a default audience ensures Auth0 produces a standard JWT access token that your MCP server can validate.
⚠️ Treat this as a shortcut, it is best suited for demos or non-production setups.
1. In the Auth0 dashboard, go to APIs
2. Click on + Create API
3. Enter a friendly name under Name (for example, “My MCP Server”)
4. Enter https://mymcpserver.com/ under Identifier
5. Click Save

6. In the Auth0 dashboard, go to Settings → General → Default Audience.
7. Enter your MCP server’s domain, for example: https://mymcpserver.com/

Step 3: Promote Google Login to a Domain Connection
Auth0 does not allow enabling social logins (or other connections) for dynamically registered apps. If you want to let users log in with Google (or another provider), you must promote it at the tenant level.
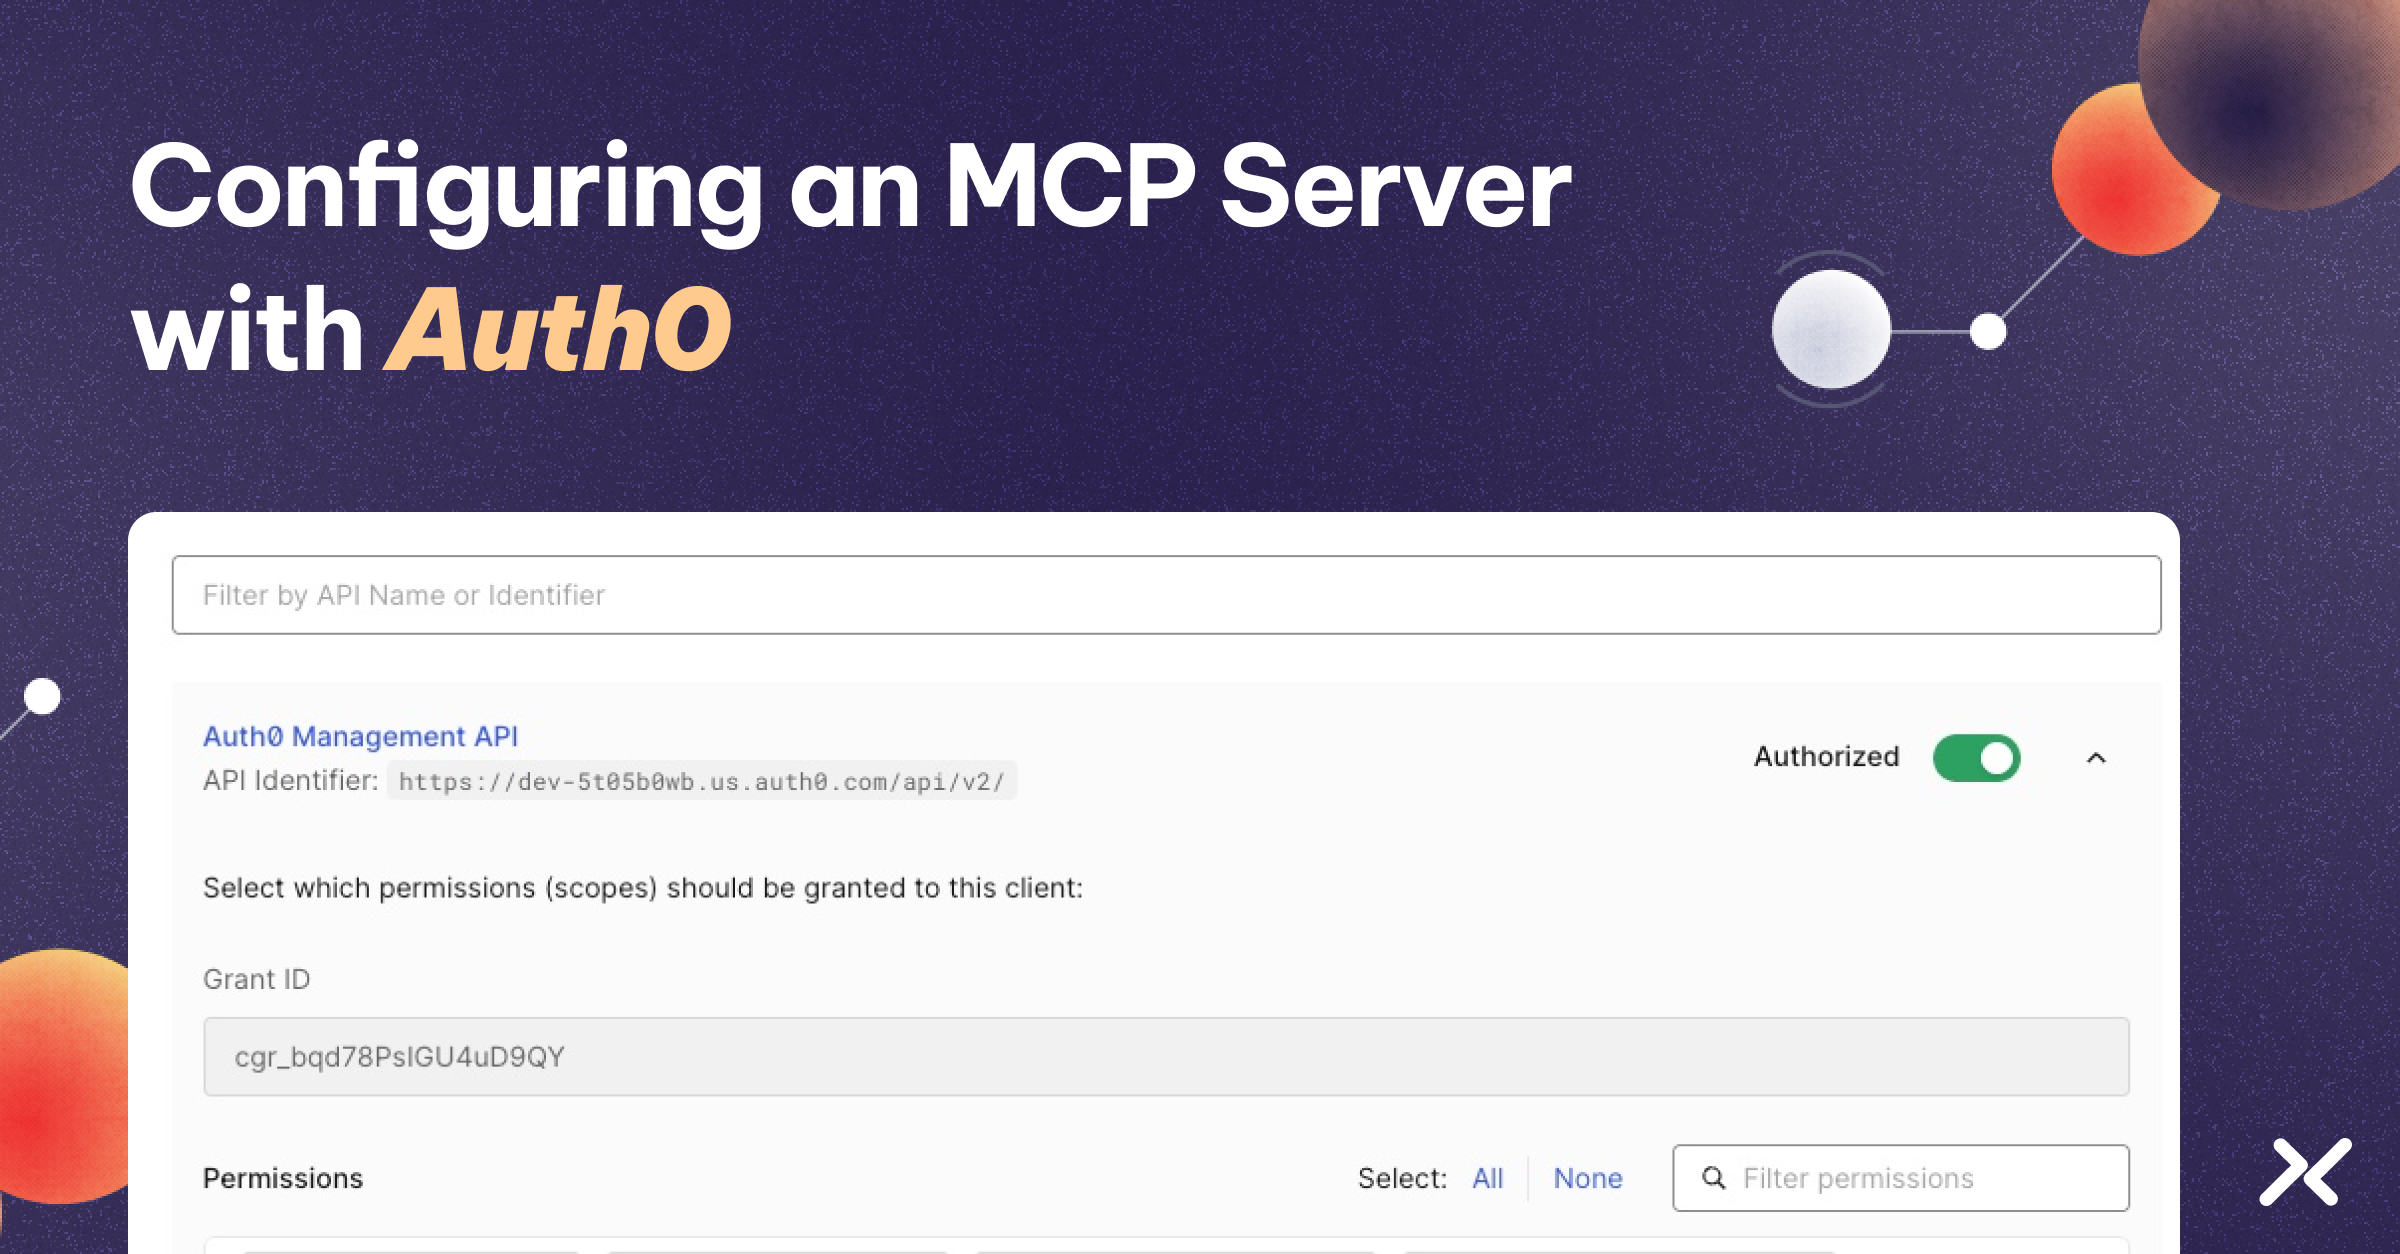
1. Go to Applications → Auth0 Management API → API tab.
2. Ensure that the Auth0 Management API is authorized.
3. Expand the Auth0 Management API row by clicking the arrow on the right.
4. Check the box for the update:connections permission.
5. Click Update.

6. Go to Authentication → Social → Google in the Auth0 dashboard.
7. Copy the connection identifier (e.g., `con_xxxxx`)
8. Generate a Management API access token (copy curl code from Auth0 dashboard → APIs → Auth0 Management API → Test tab and execute it).
9. Run the following request, replacing placeholders with your values:
curl --request PATCH \
  --url "https://{YOURS_AUTH0_TENANT_ID}.us.auth0.com/api/v2/
connections/{CONNECTION_ID}" \
  --header "Authorization: Bearer {MGMT_API_ACCESS_TOKEN}" \
  --header "Content-Type: application/json" \
  --data '{ "is_domain_connection": true }'
- MGMT_API_ACCESS_TOKEN is the token obtained in step 3.
- CONNECTION_ID is the connection identifier from step 2.
- YOUR_AUTH0_TENANT_ID is your tenant ID (shown in the top left of the Auth0 UI).
3. You should see a response confirming ”is_domain_connection”: true.
Step 4: Configure the MCP Server to Use Auth0
Your MCP server must be configured to use Auth0 as the authorization server. The details of how to do this vary by implementation, so refer to your MCP server’s documentation.
The key piece of information is the authorization server value, which should be set to your Auth0 tenant URL:`https://{YOUR_AUTH0_TENANT_ID}.us.auth0.com/`
This is the base URL your MCP server will use to fetch metadata and signing keys (`.well-known/jwks.json`) for token validation.
Step 5: Connect a Client to the MCP Server
Once Auth0 and your MCP server are set up, clients can connect. For example, a Claude.ai user can add your MCP server as a custom connector.
1. Log into your Claude.ai.
2. Click on your username in the bottom left corner -> Settings.
3. Switch to the Connectors tab.
4. Click on Add customer Connector.
And provide a friendly name and MCP endpoint URL (`https://mymcpserver.com/mcp`).
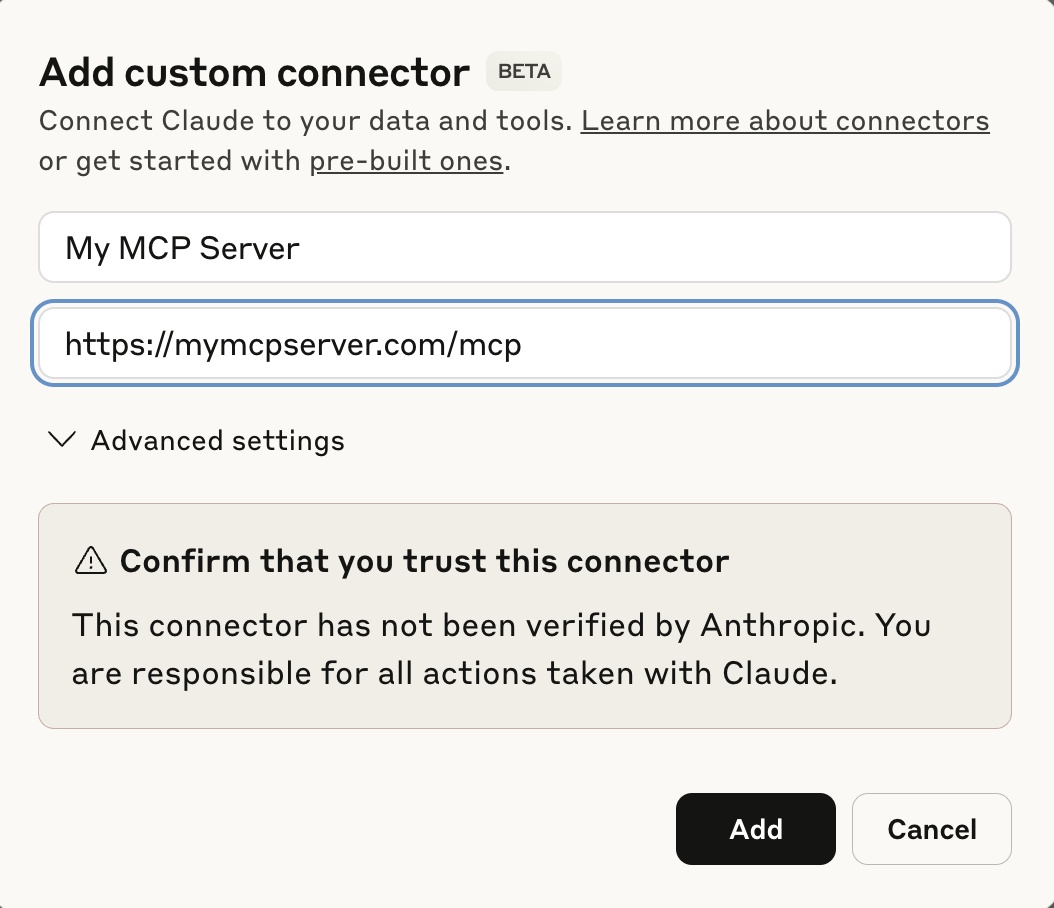
5. Click Add to start the OAuth flow.
During the connection flow, the client is redirected to Auth0 for sign-in. Auth0 issues an access token, which the MCP server validates before granting access.
Closing Notes
With this setup, you now have:
* An MCP server that enforces authentication using Auth0.
* Auth0 acts as both an authorization server.
* Google (or another provider) is enabled for user login.
This approach lets clients like Claude.ai interact securely with your MCP server using industry-standard OAuth 2.0 flows.