This article explains how to authenticate a server with the Microsoft Graph REST API. You can use the OAuth 2.0 client credentials grant specified in RFC 6749, sometimes called two-legged OAuth, to access web-hosted resources by using the identity of a workload rather than impersonating a user. Developers often refer to these types of workloads as daemons or service accounts. The client credentials grant type is commonly used for server-to-server interactions that must run in the background without immediate interaction with a user. Once configured, your server will require no direct user interaction to call the Graph API. We will use the OAuth 2.0 client credentials flow with a shared secret for this use case.
The Microsoft identity platform allows an application to use its own credentials for authentication anywhere a client secret could be used, for example, in the OAuth 2.0 client credentials grant flow and the on-behalf-of (OBO) flow.
– Microsoft Docs
Summary Steps
- Register a new application using the Azure portal.
- Create client credentials
- Set API permissions and grant admin consent.
- Make a request to Azure Active Directory authentication service using HTTP POST with a client ID and client secret to retrieve an access token.
- Use the access token to make HTTP requests to the Microsoft Graph REST API.
Register your Application
Log in to the Microsoft Azure Portal
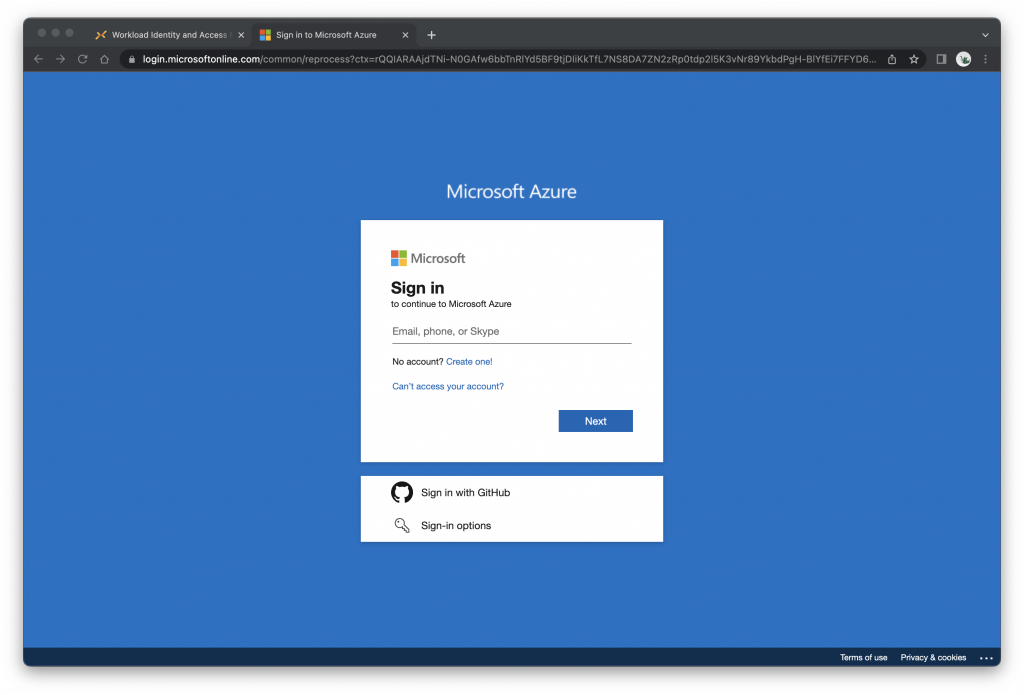
Click Azure Active Directory
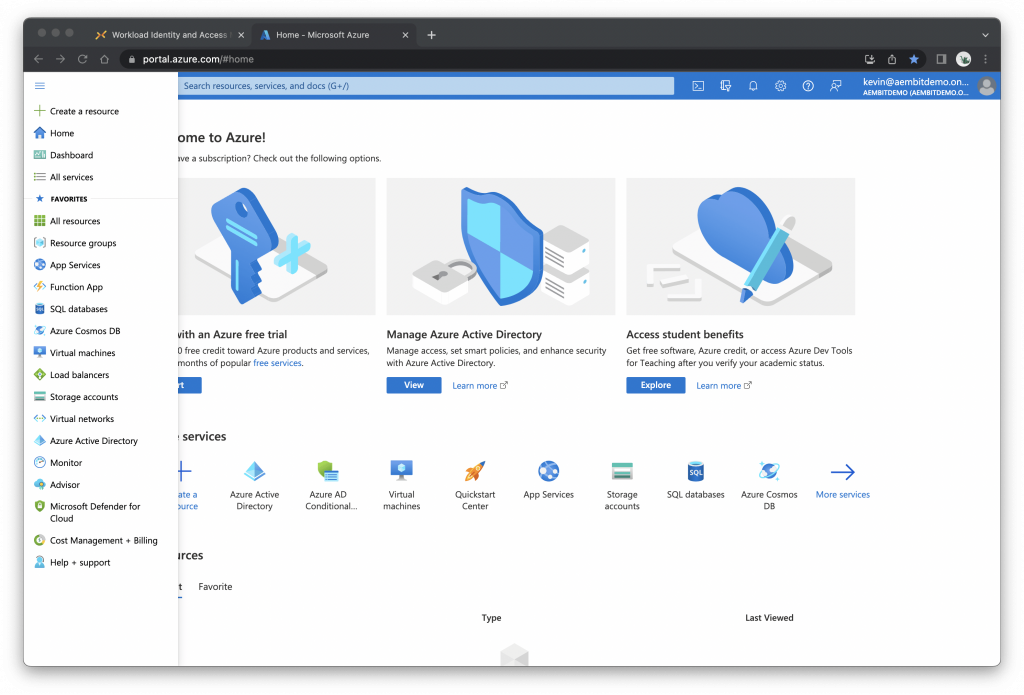
Click App registrations, then New registration
Enter or select the following:
- Name: e.g., My Workload
- Supported account types: Select Accounts in this organizational directory only…
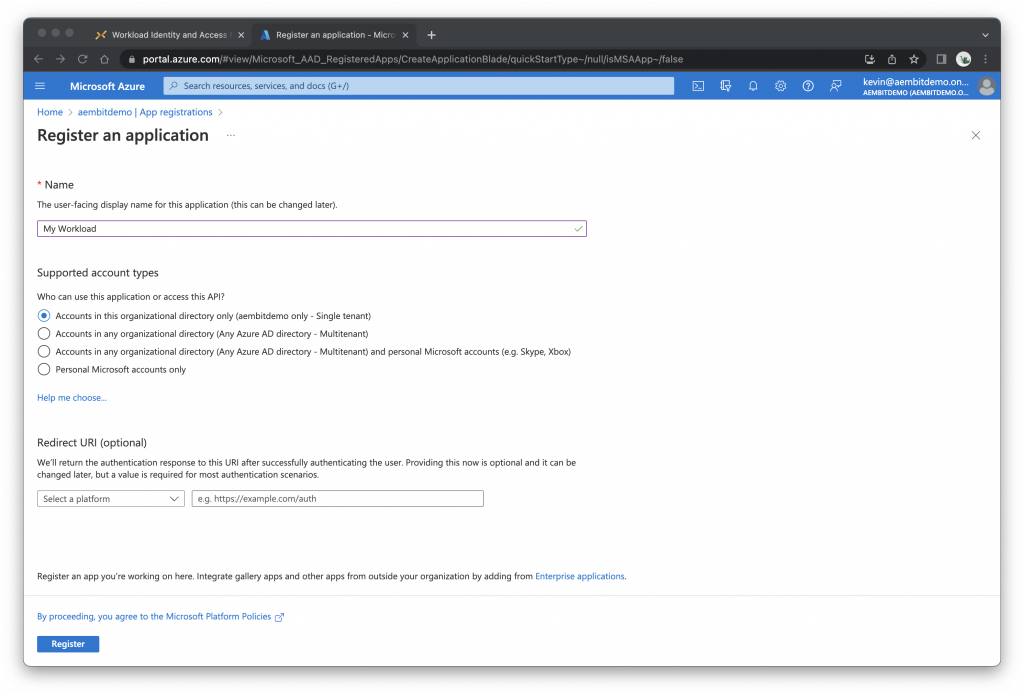
Click Register
Your application is now registered with Azure Active Directory.
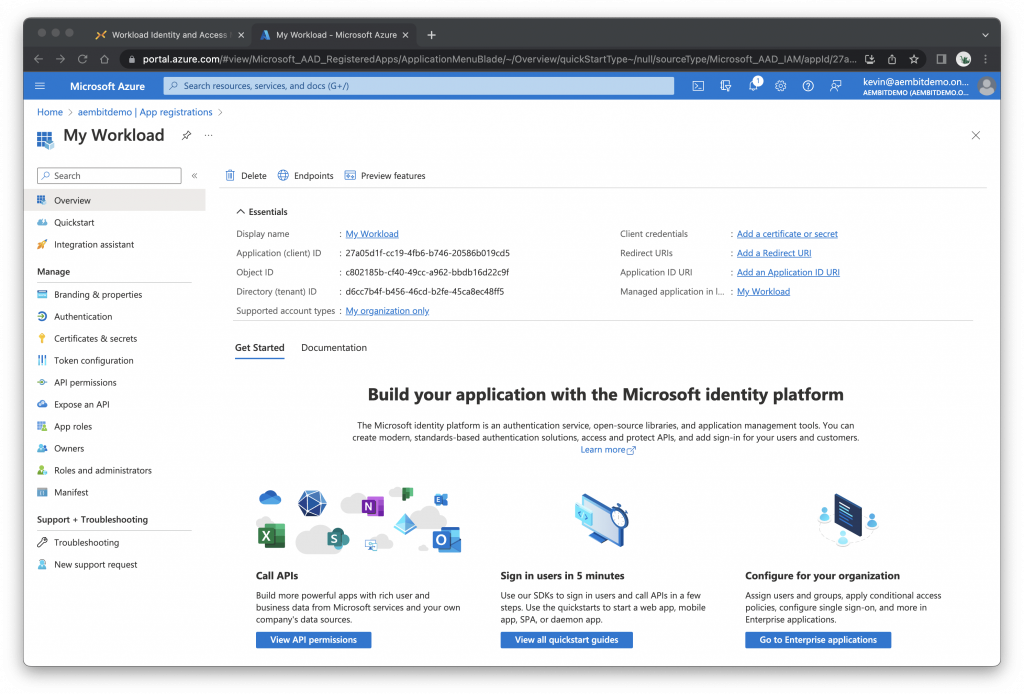
Now would be a good time to copy the Application (client) ID and the Directory (tenant) ID
Create Client Credentials
Under Essentials, click Add a certificate or secret, then click the Client secrets tab
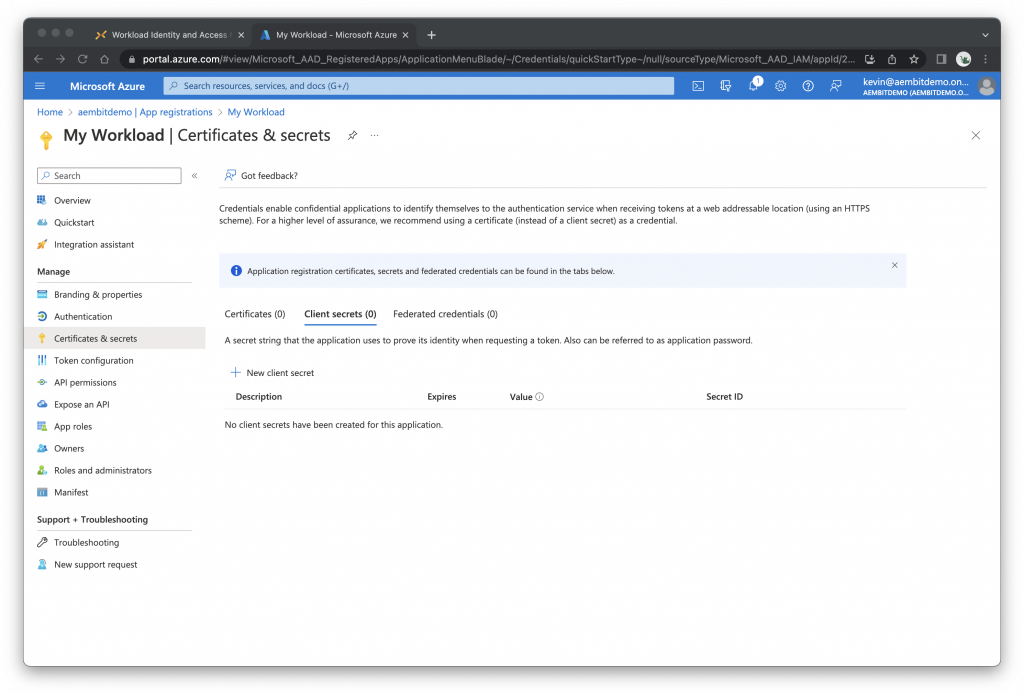
Click + New client secret
Enter a description for the secret, e.g., My Secret
Leave Expires with the selected default value
Click Add
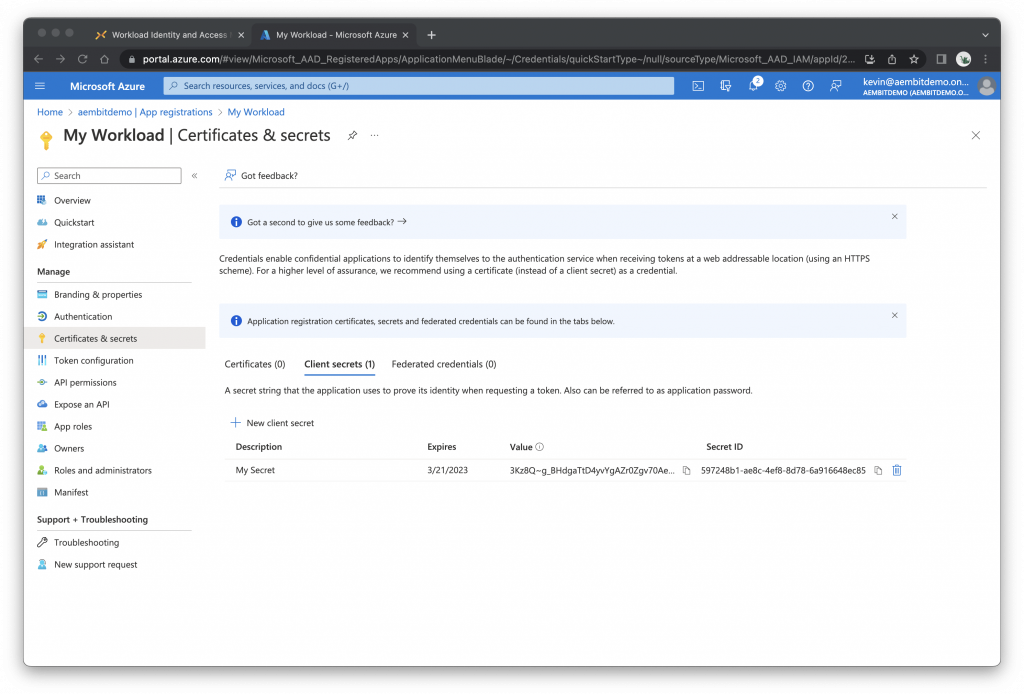
Copy the Value – this is the client secret. Note: according to Microsoft, you’ll only be able to view the client secret immediately after creating it.
Set API Permissions
Click API permissions
Click + Add a permission
Click Microsoft Graph
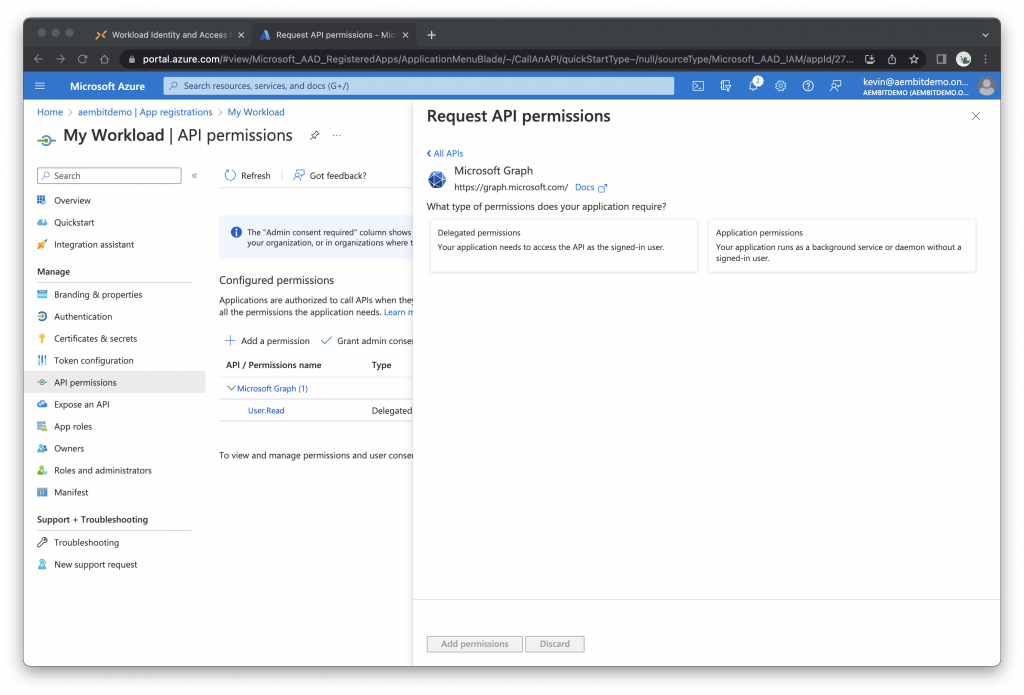
Click Application permissions
Select the permissions your workload needs, e.g., User.Read.All
(Since there are lots of permissions to choose from, it may help to search for the ones you want.)
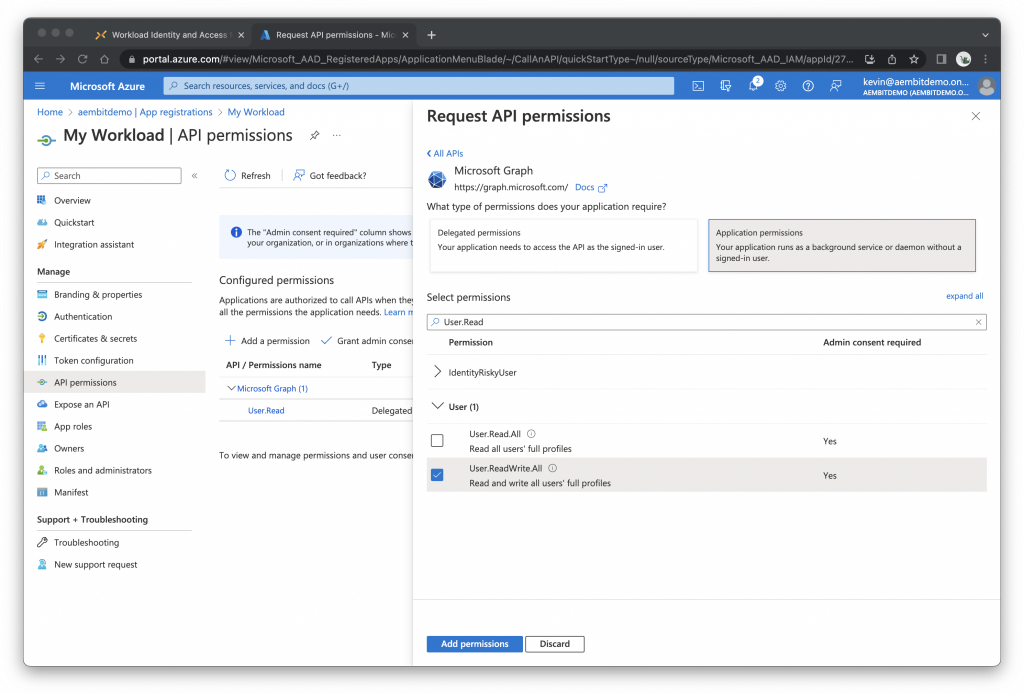
Click Add permissions
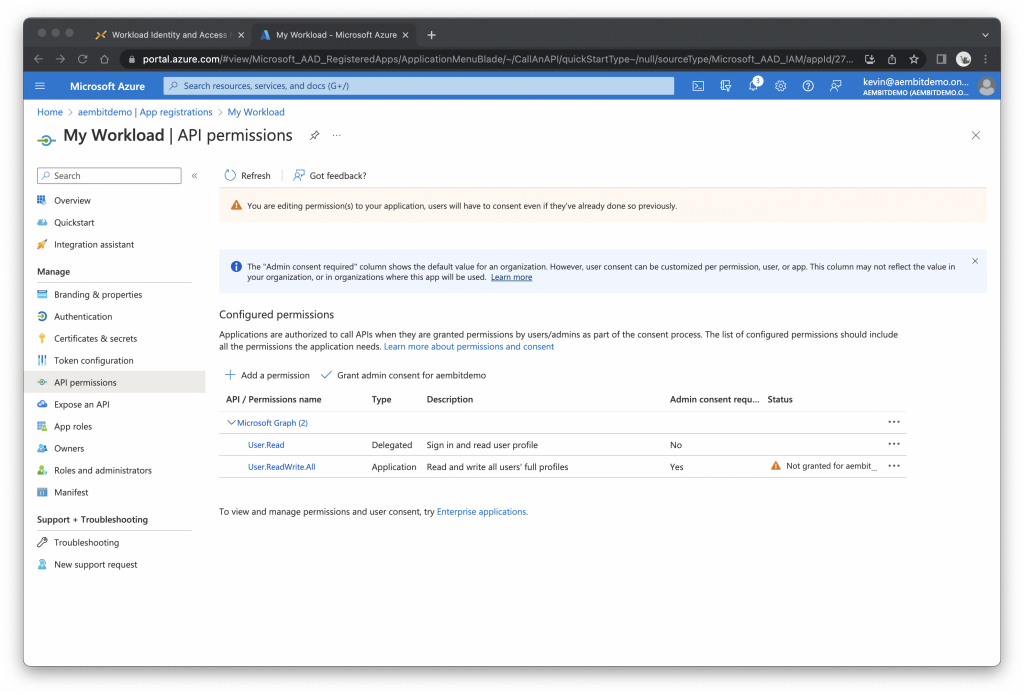
Under Configured Permissions, click Grant admin consent for…
Click Yes
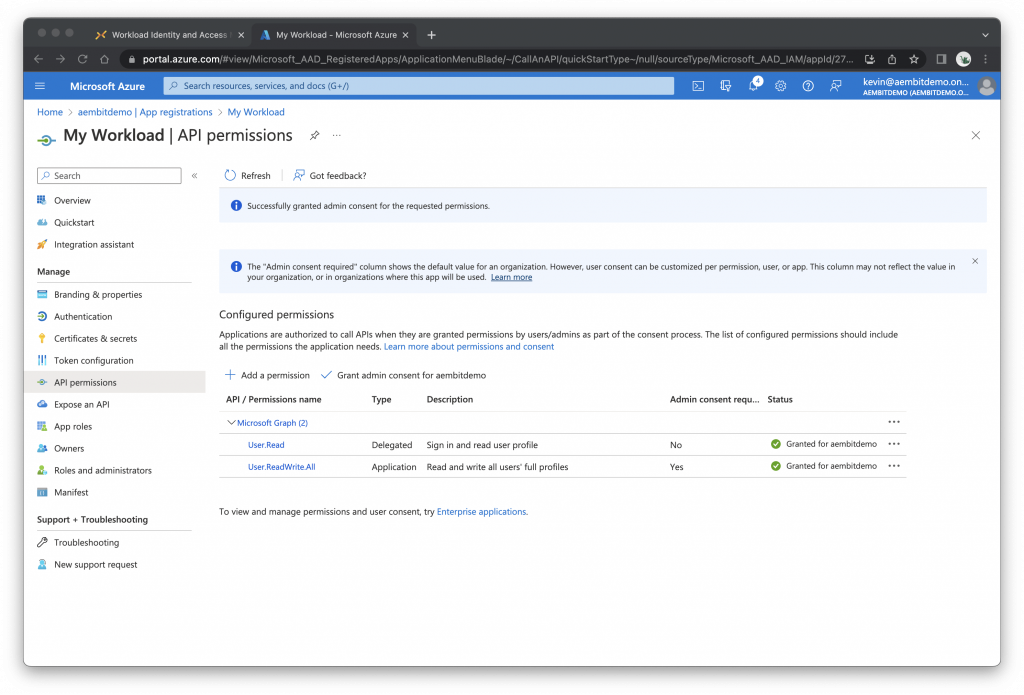
Request an Access Token
Finally, we’ll use curl to request an access token. Head over to your terminal and run the following commands.
# Example:
CLIENT_ID='<your application (client) id here>'
CLIENT_SECRET='<your client secret here>'
SCOPE='https%3A%2F%2Fgraph.microsoft.com%2F.default'
MSFT='https://login.microsoftonline.com/<your tenant id here>/oauth2/v2.0/token'
curl \
-d "client_id=$CLIENT_ID" \
-d "client_secret=$CLIENT_SECRET" \
-d "grant_type=client_credentials" \
-d "scope=$SCOPE" \
-X POST $MSFT
If everything is configured properly, you should receive a response like this…
{"token_type":"Bearer","expires_in":3599, "ext_expires_in":3599, "access_token":"eyJ0eXAiOiJKV1..." }
You can now use the access token to call the Microsoft Graph API!!!
***
Experience the Difference with Aembit
Are you using traditional OAuth 2.0 client credentials for accessing the Microsoft Graph API? Discover how Aembit can transform your experience, offering a more secure, efficient, and manageable approach for non-human identity security. Try us for free at aembit.io.


